How to Clean and Maintain Commuter Earbuds: Step-by-Step Cleaning, Sanitizing and Care Tips
Introduction
One will find that commuter earbuds accumulate dust, earwax, and bacterial growth after repeated daily use. This guide explains how to clean and maintain these devices so that sound quality remains optimal and hygiene is preserved. The reader will learn a systematic approach that combines gentle manual techniques with professional cleaning tools. By following the steps, one can extend the lifespan of earbuds and avoid costly replacements.
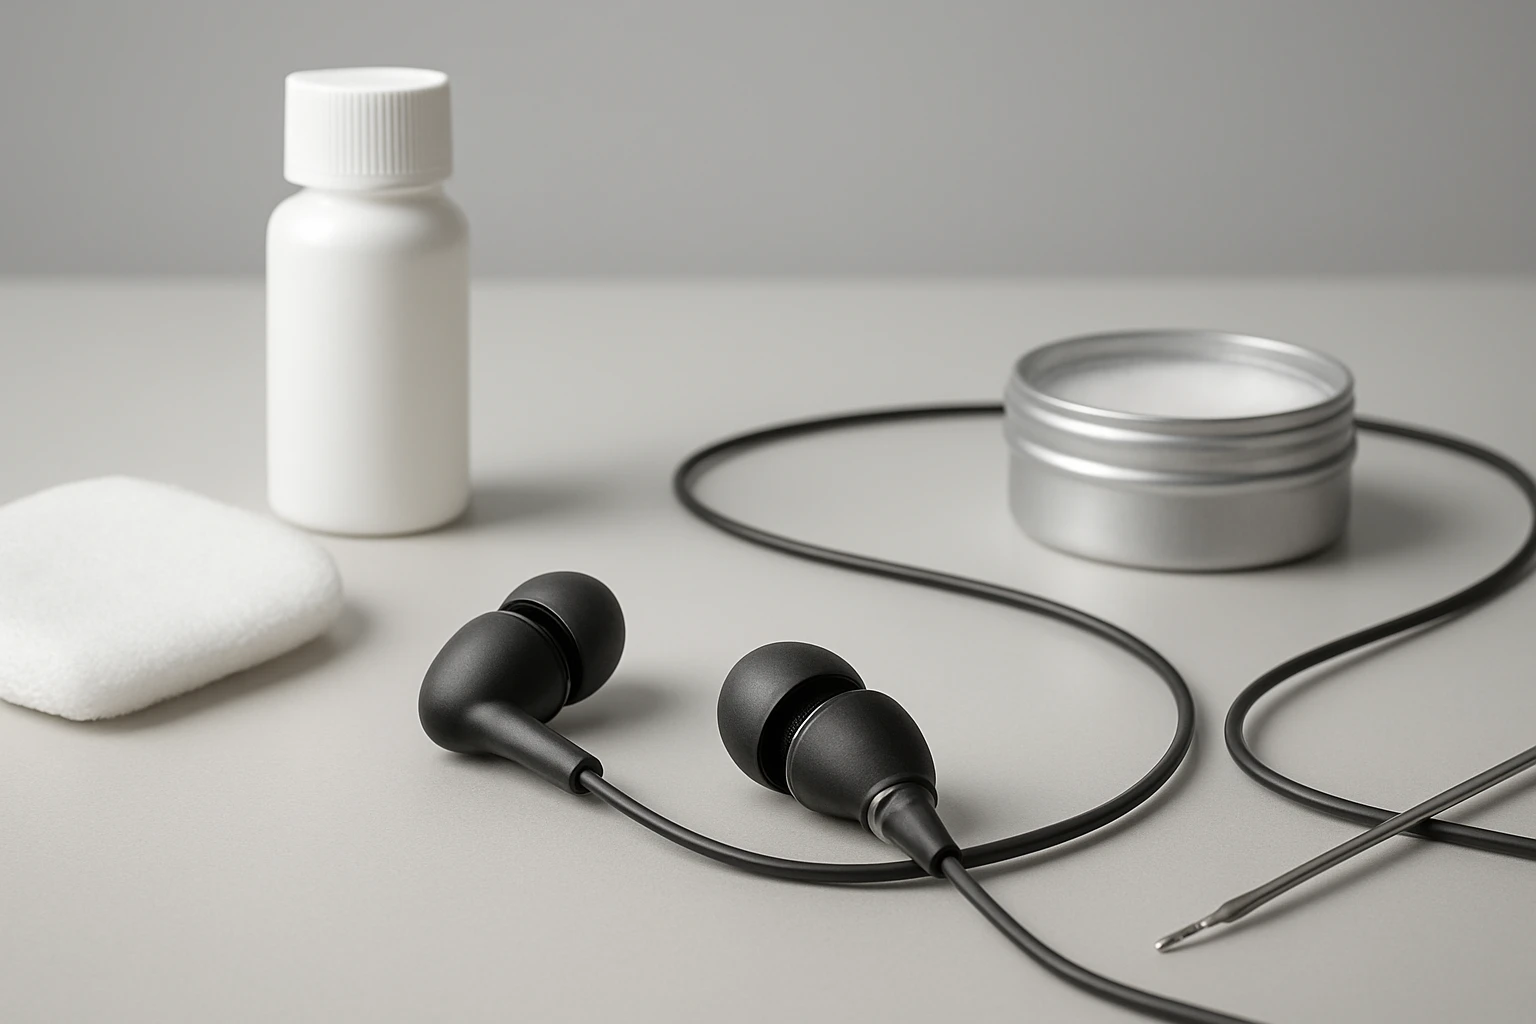
What You'll Need
- A cleaning putty or silicone removal tool
- Soft‑bristle brush and microfiber cloth
- Alcohol‑based sanitizing wipes or spray
- Replacement silicone ear tips (optional)
- A small, organized case for the tools
The following products are available on Amazon and match the required specifications.
Step 1: Gather Your Tools
Begin by assembling all cleaning implements in a well‑lit workspace. The Wowwat Airpods Cleaner Kit 3‑in‑1 provides a comprehensive set that includes 48 pieces of cleaning putty, a dedicated cleaning pen, two microfiber cloths, and assorted brushes. The kit is priced at $7.98 and holds a rating of 4.4 out of 5 stars from 1,554 reviews. Its multi‑function design ensures that each component can address a specific part of the earbud.
Having all tools at hand prevents interruption and reduces the risk of accidental damage. Place the cleaning pen, putty, and brushes on a flat surface where they will not roll away.
Step 2: Remove the Ear Tips
Gently pull the silicone or foam tips from the earbuds. If the tips are damaged or no longer provide a secure fit, consider replacing them with the Silicone Earbud Replacement Tips. This pack contains nine pairs of tips in three sizes, costs $5.99, and enjoys a 4.3‑star rating from 1,316 reviewers. The variety of sizes ensures a proper seal for most in‑ear designs.
Removing the tips grants access to the speaker mesh and prevents the cleaning solution from contaminating the ear canal. Store the removed tips in a clean area to avoid loss.
Step 3: Clean the Ear Tips
Wash the silicone tips with warm water and a mild soap. Rinse thoroughly and pat dry with a microfiber cloth from the Wowwat kit. The cloth is crafted from premium microfiber material that lifts oils and fingerprints without leaving lint. This step eliminates surface grime and prepares the tips for re‑installation.
If the tips are heavily soiled, the cleaning putty can be used. Press a small amount of putty onto the tip, roll gently, and then lift; the putty adheres to wax and debris, removing it in a single motion. The putty’s pliable texture makes it safe for delicate silicone surfaces.
Step 4: Clean the Earbud Speaker Mesh
The speaker mesh traps fine particles that degrade audio performance. Use the soft‑bristle brush from the Wowwat kit to sweep across the mesh in a circular motion. The brush’s high‑density bristles dislodge dust without scratching the delicate drivers.
For stubborn residue, the WalktherHa 20‑in‑1 Airpods Cleaner Kit offers a metal tip designed for tiny crevices. Priced at $11.99 with a 4.8‑star rating from 104 reviews, this tip can reach deep into the sound holes where a brush cannot. Gently press the metal tip into the mesh, rotate, and lift to extract embedded wax.
After brushing, use a small amount of cleaning putty to pick up any remaining particles. Press the putty onto the mesh, wait a moment, and peel away; the putty captures the loosened debris.
Step 5: Clean the Charging Port and Case
The charging contacts and case interior accumulate lint and skin cells that interfere with charging efficiency. The Hyashee Multi‑Function Airpods Cleaner includes a metal pen tip and a soft brush that are ideal for this task. This product costs $6.99, carries a 4.5‑star rating from 11,003 reviews, and fits comfortably in a pocket for on‑the‑go maintenance.
Insert the metal tip into the charging port and rotate slowly to dislodge lint. Follow with the soft brush to sweep away loosened particles. For the case interior, use the flocking sponge from the WalktherHa kit; its gentle texture cleans without scratching the plastic.
Finish by wiping the exterior of the case with a dry microfiber cloth. This removes fingerprints and restores the case’s visual appeal.
Step 6: Sanitize the Components
After mechanical cleaning, apply an alcohol‑based sanitizing wipe to the exterior surfaces of the earbuds and case. Avoid applying liquid directly to the speaker mesh or charging contacts, as excess moisture can damage internal circuitry. Allow the surfaces to air‑dry for at least 30 seconds before reassembly.
If a spray is preferred, the WalktherHa kit includes a 15 ml screen cleaner spray that can be lightly misted onto a cloth before wiping. The spray is formulated to evaporate quickly, leaving no residue.
Step 7: Reassemble and Test
Reattach the cleaned or replacement ear tips, ensuring they click securely into place. Insert the earbuds into a paired device and play audio at a moderate volume. Listen for any distortion or loss of bass; if issues persist, repeat the cleaning of the speaker mesh.
Perform a charging test by placing the earbuds in their case. Verify that the indicator lights show a full charge within the expected time frame. Successful charging confirms that the contacts are free of obstruction.
Tips & Pro Tips
- Schedule a full cleaning routine once every two weeks to prevent buildup.
- Store earbuds in a dry, dust‑free pouch when not in use; the Midukit kit includes a storage box that keeps tools organized.
- Do not use abrasive materials such as paper towels, as they can scratch the speaker mesh.
- When using cleaning putty, work in small sections to avoid spreading wax to other areas.
- For travelers, the Hyashee pen provides a compact solution that fits in a pocket without adding bulk.
Troubleshooting
| Problem | Possible Cause | Solution |
|---|---|---|
| Reduced volume after cleaning | Residual wax remains in mesh | Repeat putty removal and brush cleaning; use metal tip for deeper reach. |
| Charging fails | Lint in charging contacts | Use metal tip from WalktherHa kit to gently clear contacts; wipe with dry cloth. |
| Ear tips feel loose | Incorrect size | Replace with appropriate size from Silicone Earbud Replacement Tips set. |
Conclusion
One now possesses a clear, actionable process for cleaning, sanitizing, and maintaining commuter earbuds. By employing the recommended tools—such as the Wowwat 3‑in‑1 kit, WalktherHa 20‑in‑1 kit, Hyashee multi‑function pen, Midukit cleaning set, and silicone ear tip replacements—one can achieve professional‑grade results with minimal effort. Consistent maintenance preserves audio fidelity, extends device lifespan, and promotes personal hygiene. Readers are encouraged to incorporate these practices into their daily routine and enjoy reliable sound on every commute.
Products Mentioned in This Guide
Frequently Asked Questions
How often should I clean my commuter earbuds?
Clean them at least once a week to prevent earwax buildup and maintain sound quality.
Can I use regular cotton swabs to clean earbud tips?
Avoid cotton swabs; they can leave fibers behind—use a soft‑bristle brush or silicone cleaning putty instead.
Are alcohol‑based wipes safe for all earbud components?
Yes, lightly dampened alcohol wipes are safe for the outer shell and mesh, but avoid saturating the drivers.
How do I replace silicone ear tips without damaging the earbuds?
Gently pull the old tip off, align the new tip’s groove with the earbud socket, and press until it clicks into place.
What’s the best way to store earbuds to keep them clean between uses?
Keep them in a dry, dust‑free case with a small brush inside to catch debris before sealing.