Introduction
The modern commuter relies on earbuds to consume audio content while travelling. This guide explains how to diagnose common failures, perform reliable repairs, and prevent future breakdowns. Readers will learn practical techniques that require minimal equipment and can be executed during a short commute. Mastering these skills reduces dependence on costly replacements and extends the lifespan of valuable audio accessories.
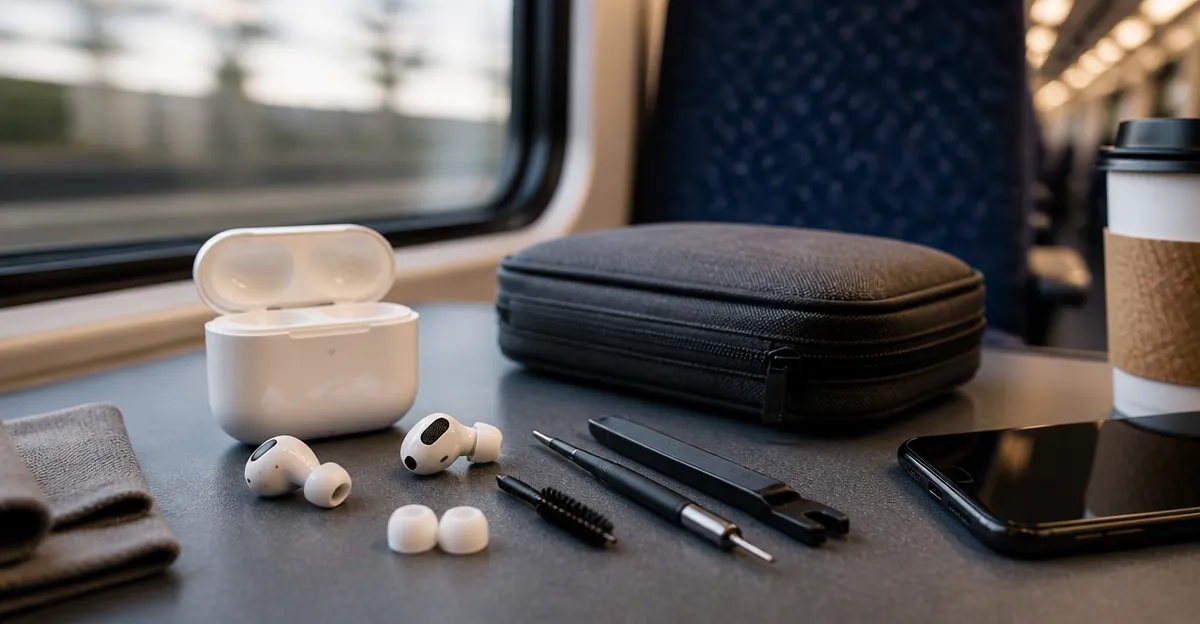
What You’ll Need
The following items are sufficient for most on‑the‑spot earbud repairs:
- Fine‑tip precision screwdriver set (typically 0.5 mm to 1.5 mm).
- Small pair of needle‑nose pliers.
- Electrical tape or heat‑shrink tubing for cable reinforcement.
- Isopropyl alcohol (90 % or higher) and a lint‑free cloth for cleaning contacts.
- Optional reference guide such as Absurd Scientific Advice for creative troubleshooting ideas.
All items are inexpensive and can be stored in a small pouch that fits in a backpack or briefcase. The optional reference guide provides humorous yet insightful perspectives that encourage systematic problem solving.
Step 1: Identify the Issue
The first step is to determine whether the malfunction originates from the cable, the driver, or the wireless module. One should test each earbud individually by swapping them between the left and right audio channels of the source device. If the problem follows the earbud, the driver or housing is likely defective; if it follows the cable, the connector or wire is at fault.
During this diagnostic phase, the guide Absurd Scientific Advice can be consulted for unconventional diagnostic checklists that stimulate thorough observation. The book is priced at $14.16 and holds a rating of 4.8 out of 5 stars from 7,539 reviewers, indicating high satisfaction among readers who appreciate its inventive approach.
Step 2: Gather Repair Tools
Having the correct tools prevents damage to delicate components. The precision screwdriver set enables removal of tiny screws that secure the earbud housing without stripping the heads. Needle‑nose pliers provide the leverage required to extract stubborn wire strands without crushing them.
Electrical tape and heat‑shrink tubing serve as protective barriers that reinforce repaired sections against bending stress. Isopropyl alcohol removes oxidation from metal contacts, ensuring a low‑resistance electrical pathway.
Step 3: Repair Cable or Connector
If the cable is identified as the source of failure, the user should first inspect the jacket for visible cuts or fraying. When a break is observed, gently strip back the outer insulation using a small blade, taking care not to damage the inner conductors.
Next, twist the exposed copper strands together and solder them if a soldering iron is available; otherwise, twist‑and‑tape the connection securely. Apply a short segment of heat‑shrink tubing over the joint and apply gentle heat to create a durable seal.
For users who prefer a distraction while waiting for the tubing to set, the How to Train Your Dragon DVD Collection offers entertaining content that fits conveniently in a travel bag. Priced at $12.96 with a rating of 4.8 out of 5 stars from 10,730 reviewers, the DVD set provides a high‑quality viewing experience that can make the repair process more enjoyable.
Step 4: Reassemble Earbud Housing
When the driver or housing requires attention, the user should first clean the internal contacts with a lint‑free cloth moistened with isopropyl alcohol. This removes dust and oils that can impede signal transmission.
After cleaning, align the driver precisely and secure it with the original screws using the precision screwdriver. If any screw is missing, a tiny replacement screw from a hobby kit can be substituted.
Finally, re‑attach the outer shell, ensuring that all clips snap into place without excessive force. A snug fit prevents moisture ingress, which is a common cause of long‑term failure.
Step 5: Test and Protect
With the earbud reassembled, connect it to a trusted audio source and verify that both channels produce clear sound. Play a track that includes both high and low frequencies to confirm driver performance across the spectrum.
If the sound is satisfactory, wrap the repaired section of the cable with a short strip of electrical tape or a second layer of heat‑shrink tubing for added protection. Store the earbuds in a hard‑shell case to shield them from impact during future commutes.
Tips & Pro Tips
- Perform repairs in a well‑lit environment to avoid missing tiny components.
- Use a magnifying glass or a jeweler’s loupe for enhanced visibility when handling micro‑screws.
- Apply a drop of silicone grease to the cable jacket after repair to improve flexibility and resistance to wear.
- Keep a spare set of earbud tips in a pocket; worn tips can cause poor seal and perceived audio issues.
Troubleshooting
No sound after repair: Verify that the solder joint is solid and that the wire continuity is intact using a multimeter. Re‑apply heat‑shrink tubing if the joint appears loose.
Intermittent sound: Check for residual debris inside the connector. Clean the contact points again with alcohol and ensure that the cable is not being bent sharply near the repair site.
Distorted audio: Confirm that the driver is seated correctly and that no foreign objects are obstructing the diaphragm. Re‑align the driver if necessary.
Conclusion
This guide has equipped the commuter with a systematic approach to diagnosing and repairing earbuds while on the move. By following the outlined steps, one can restore functionality quickly, avoid unnecessary expense, and extend the service life of valuable audio equipment. The optional references, including Absurd Scientific Advice and How to Train Your Dragon DVD Collection, enhance the repair experience through knowledge and entertainment.
Products Mentioned in This Guide
Frequently Asked Questions
What basic tools do I need to repair earbuds while commuting?
A fine‑tip precision screwdriver set, needle‑nose pliers, electrical tape or heat‑shrink tubing, 90%+ isopropyl alcohol, and a lint‑free cloth are sufficient.
How can I clean a dirty earbud connector without damaging it?
Dampen a lint‑free cloth with isopropyl alcohol, gently wipe the contacts, and let them air‑dry before reassembly.
What’s the quickest way to fix a loose earbud cable on the go?
Wrap the exposed wire with electrical tape or a short piece of heat‑shrink tubing to reinforce the joint temporarily.
Can I prevent earbud failures by storing them properly?
Yes, keep them in a padded pouch, avoid sharp bends, and store the cable loosely to reduce stress on the connectors.
When should I replace an earbud instead of attempting a repair?
If the driver sounds distorted, the cable is frayed beyond a simple splice, or water damage is evident, replacement is safer and more reliable.